Perfect! Let’s go step by step 🌿🧄. Garlic braiding is both practical and beautiful—it keeps bulbs fresh longer and adds rustic charm to your kitchen. Here’s the full method:
🧄✨
Braiding garlic is a traditional storage method that allows air circulation, prevents mold, and keeps bulbs within easy reach. It’s easiest to do with softneck garlic (though hardneck can be braided with some tricks).
🛒 What You’ll Need
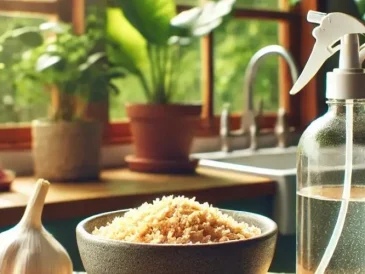
- Freshly harvested garlic (preferably softneck)
- A damp cloth or spray bottle (to keep stems pliable)
- Twine or string (optional, for securing the braid)
- A cool, dry, well-ventilated space for storage
👩🌾 Step-by-Step Method
1. Harvest and Prepare the Garlic
- Harvest garlic when the lower leaves are mostly brown but a few green leaves remain.
- Gently brush off dirt, but don’t wash with water.
- Cure garlic by laying it in a dry, airy spot for 1–2 weeks until the skins are papery.
- Leave stems and roots attached. Trim roots to about ½ inch.
2. Soften the Stems
- If stems are stiff, lightly mist or cover with a damp cloth for 30–60 minutes to make them flexible.
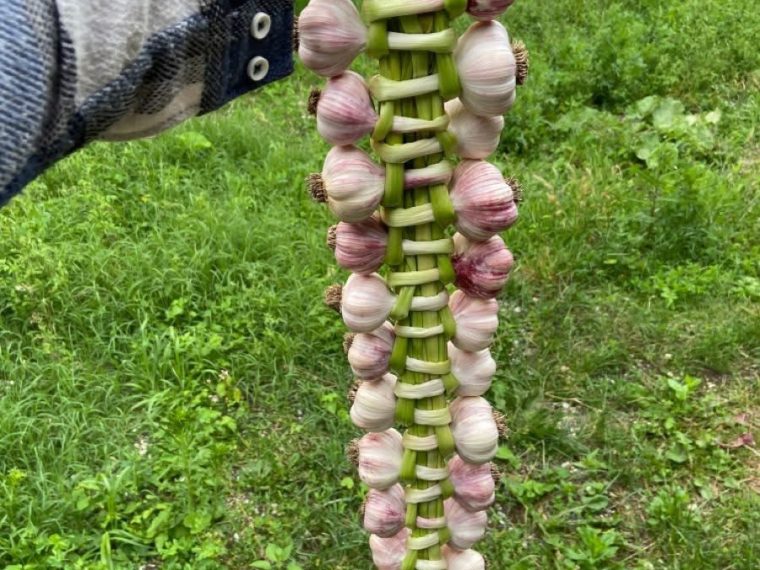
3. Start the Braid
- Select 3 bulbs of similar size. Place them together with stems overlapping.
- Begin braiding the stems as you would hair: left over middle, right over middle.
- After a couple of passes, add another garlic bulb—lay its stem into the braid as you cross over.
4. Continue Adding Garlic
- Each time you cross a stem, add a new bulb, alternating sides so the braid builds evenly.
- Keep the bulbs snug and close to each other for a tidy braid.
5. Finish the Braid
- When all bulbs are included (10–15 is common for one braid), continue braiding just the stems until you reach the ends.
- Tie off with twine to secure.
6. Hang and Store
- Hang the braid in a cool, dry, well-ventilated place (like a pantry or kitchen wall).
- Properly braided and stored garlic can last 3–6 months.
💡 Tips for Success
- Use softneck garlic for easier braiding; hardneck can be woven but is trickier.
- Keep braids away from direct sunlight to prevent sprouting.
- Smaller braids (8–10 bulbs) are easier to handle and look lovely in the kitchen.
- Pull cloves from the bottom as needed, leaving the rest of the braid intact.
✨ With a little practice, you’ll have beautiful, rustic garlic braids that keep your harvest fresh and decorate your kitchen at the same time!