
4. Make the Hat
- Cut a triangle from red paper.
- Roll it into a cone, just big enough to sit on Santa’s head.
- Add:
- A white strip for the hat’s trim
- A white pom-pom at the tip
Again, cotton works beautifully here.
5. Assemble the Santa
- Glue Santa’s head onto the top of the red body cone.
- Glue the hat on top of the head, tilted slightly for a cute look.
6. Add Details
Santa’s Belt
- Cut a thin strip of black paper and glue it around the cone.
- Add a tiny yellow or white square for the buckle.
Santa’s Boots
- Cut two small boot shapes from black paper.
- Glue them under the base of the cone.
Optional Decorations
- Buttons using paper circles
- Glitter for sparkle
- Paper arms holding presents or candy canes
🎄 Why This Craft Is Perfect
- Fast — takes about 10–15 minutes.
- Kid-friendly — safe and easy for children to make.
- Budget-friendly — uses basic paper supplies.
- Adorable decoration — perfect for shelves, tables, or Christmas parties.
- Great for classrooms and holiday craft activities.
🌟 Creative Variations
- Make mini Santas using smaller cones.
- Create a whole Christmas family — Mrs. Claus, elves, and reindeer.
- Use patterned red paper for a stylish Santa suit.
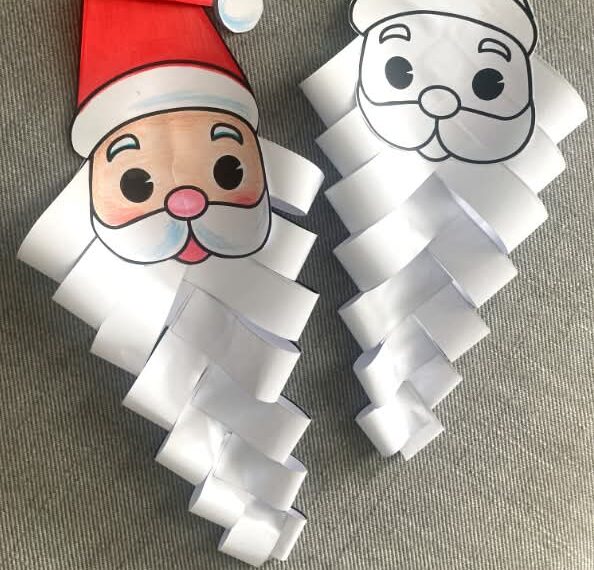
- Add a cotton beard for extra texture.
🎅 Final Tip
The charm of this craft is its simplicity. No two Santas ever look alike — each has its own personality, smile, and beard style. Kids love that!
Pages: 1 2