Vaseline, also known as petroleum jelly, is a household staple used for everything from moisturizing dry skin to soothing chapped lips. But did you know you can make a natural version at home with just a couple of ingredients? This homemade alternative is petroleum-free, budget-friendly, and incredibly easy to make.
Why Make Your Own Vaseline?
- Avoids petroleum-based products
- Uses only natural, skin-friendly ingredients
- You control the scent and texture
- It’s fun and satisfying!
Basic Ingredients
You only need two simple ingredients:
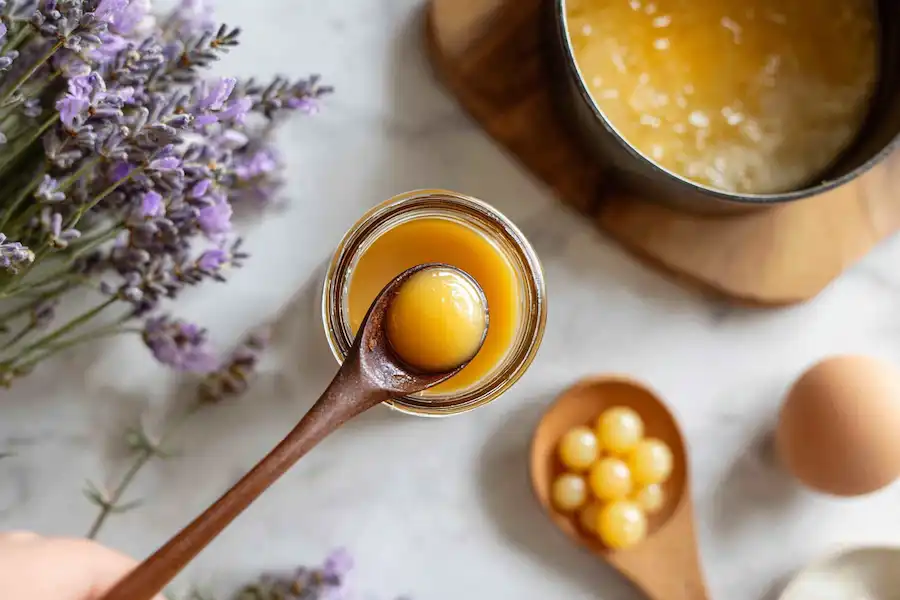
- 1/4 cup of beeswax (grated or in pellets)
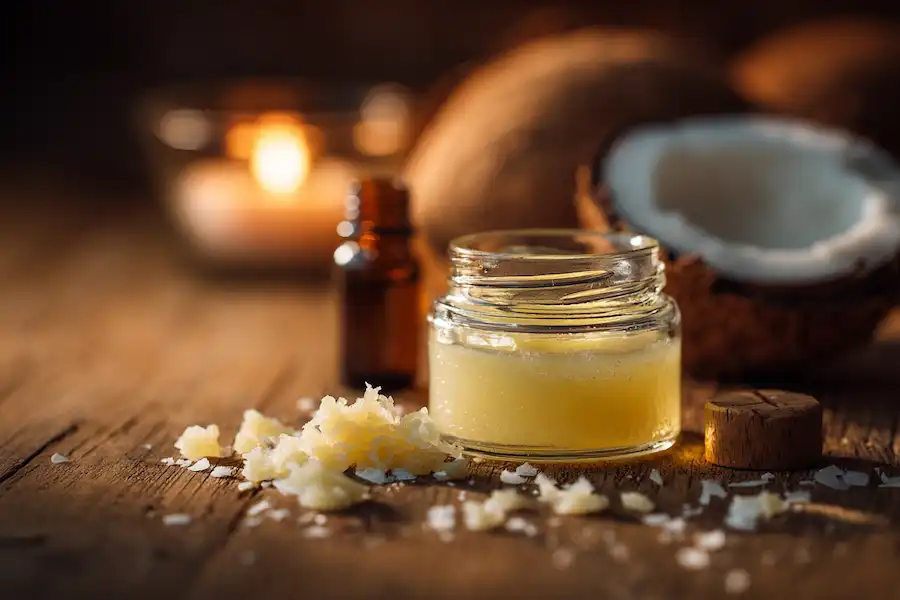
- 1/2 cup of a carrier oil (like coconut oil, olive oil, or sweet almond oil)
Optional:
- A few drops of essential oil (lavender, tea tree, etc.) for fragrance
- A pinch of vitamin E oil (for longer shelf life and skin benefits)
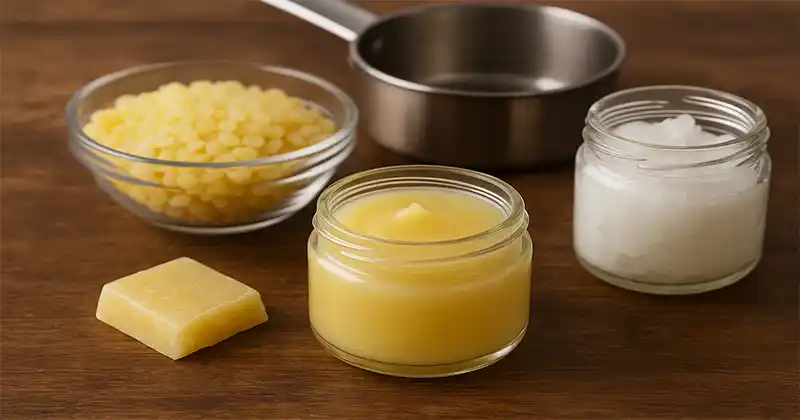
Tools You’ll Need
- Small pot or double boiler
- Heat-safe glass jar or tin (for storage)
- Spoon or spatula for mixing
How to Make It
Step 1: Melt the Beeswax
In a double boiler or a small pot over very low heat, add the beeswax. Stir gently as it melts.
Step 2: Add the Oil
Once the beeswax is fully melted, pour in the oil. Stir well to combine the mixture.
Step 3: Optional Add-ins
If using essential oils or vitamin E, add them now. Stir again.
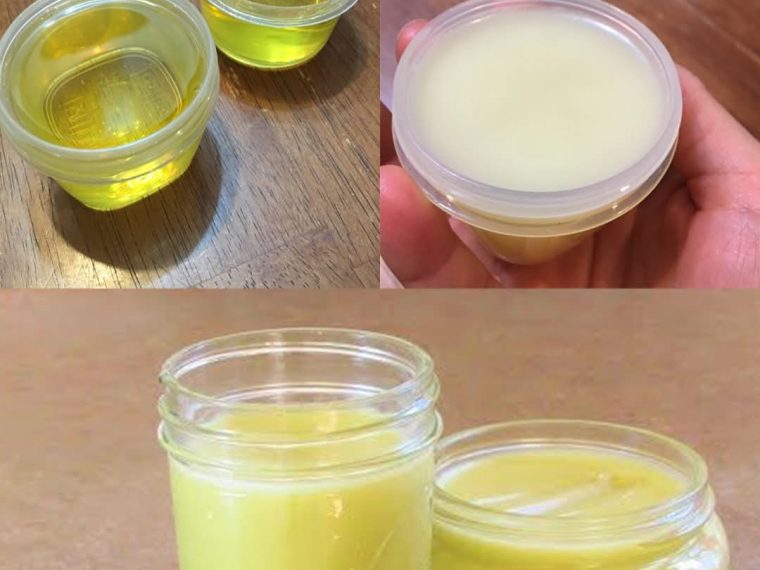
Step 4: Pour and Let It Set
Carefully pour the warm liquid into your clean jar or tin. Let it cool at room temperature until it solidifies—usually within 1–2 hours.
Step 5: Use and Store
Your homemade Vaseline is ready to use! Keep it in a cool, dry place. It can last for several months.
Uses for Homemade Vaseline
- Lip balm
- Dry elbows and heels
- Cuticle softener
- Diaper rash prevention
- Makeup remover
- Natural highlighter
This DIY Vaseline is non-toxic, gentle on the skin, and can be customized with your favorite oils and scents. Whether you’re going natural, reducing chemicals, or just love DIY projects, this recipe is perfect for your daily skincare routine.
Inspired by this? Share the article with your friends!