🥣 Old “Canning Rule” with Milk: It’s Fine If You Add Water!
The Safe Way to Make Creamy-Style Canned Soup at Home
Canning is a wonderful way to preserve your homemade soups for months — but when it comes to milk or cream-based recipes, things get tricky.
For years, experts have warned against using dairy products in pressure-canned foods because milk and cream don’t preserve safely. They can separate, spoil, or even promote bacterial growth.
However, there’s an old canning rule that many homesteaders swear by:
🥛 “Milk is fine in canning — as long as you replace it with water and add the creaminess later!”
Let’s go through how this works and how you can make a safe, creamy-style chicken or vegetable soup that tastes delicious even after months on the shelf.
🧂 Why Milk Isn’t Safe for Canning
When milk, cream, or cheese is pressure canned, the high heat causes:
- Separation and curdling
- Texture changes (gritty or lumpy)
- Bacterial risks — botulism spores can survive in low-acid dairy environments
That’s why food safety experts (including the USDA and the National Center for Home Food Preservation) recommend never canning milk directly.
Instead, use water or broth during canning — then add the milk or cream after opening the jar.
🍲 Safe “Creamy” Soup Base for Canning
Here’s a safe, adaptable recipe that gives you a rich soup base you can later turn creamy with milk or cream right before serving.
🥕 Ingredients (for 6–7 pint jars)
- 4 cups chopped cooked chicken (or turkey)
- 1½ cups uncooked wild or brown rice
- 1 large onion, chopped
- 2 carrots, diced
- 2 celery stalks, chopped
- 2 garlic cloves, minced
- 10 cups water or chicken broth (no milk yet!)
- 2 teaspoons salt
- 1 teaspoon black pepper
- 1 teaspoon thyme or parsley (optional)
👩🍳 Instructions
- Prepare the broth base:
In a large pot, combine water (or broth), onion, carrots, celery, and garlic. Bring to a boil for 10 minutes. - Add the protein and rice:
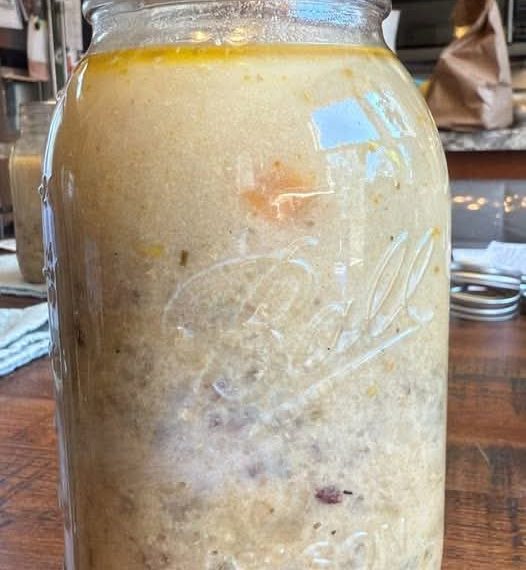
Stir in cooked chicken and uncooked rice. Simmer for another 5 minutes. - Fill your jars:
- Ladle the hot soup mixture into hot sterilized jars, leaving 1 inch of headspace.
- Wipe the rims, place the lids, and seal.
- Pressure canning:
- Process pints for 75 minutes and quarts for 90 minutes at 10 PSI (adjust for altitude).
- Cool and store:
- Let jars cool undisturbed for 12–24 hours.
- Check seals before labeling and storing.
🥛 When Ready to Serve
Here’s the “old rule” in action:
Once you open a jar of your canned soup, simply add milk, cream, or evaporated milk while reheating to create the rich, creamy texture you love.
✅ Add about ½ cup of milk per pint jar of soup.
✅ Heat gently — don’t boil — to prevent curdling.
✅ Taste and adjust seasoning before serving.
🌿 Optional Add-Ins
When reheating, you can add:
- A knob of butter for extra flavor
- A sprinkle of cheese or herbs
- A spoon of cornstarch slurry (for a thicker texture)
⚠️ Important Safety Note
Never can recipes that include:
- Milk or cream
- Cheese
- Butter
- Flour-thickened sauces
Always add these ingredients fresh after opening the jar. This method keeps your canned foods shelf-stable and safe to eat.
🏡 Final Thoughts
So yes — the “old canning rule” is true in a way:
You can make a creamy soup base safely for canning, as long as you replace the milk with water and add the dairy later when serving.
It’s the perfect way to enjoy the comfort of homemade creamy soup without risking spoilage or unsafe preservation.
🍲 “Canning is about patience and safety — and sometimes, that means saving the cream for later.”