Many people struggle with stubborn dark spots and skin blemishes that linger long after acne, sun exposure, or minor injuries. While skincare products promising fast results often come with a high price tag, simple household ingredients can sometimes offer surprisingly effective support. Today’s remedy focuses on a natural preparation that many people use to help brighten the skin’s appearance and gradually reduce the visibility of marks over time.
This method uses three inexpensive ingredients—all easy to find, all known for their traditional use in natural skincare: garlic extract, fresh lemon juice, and baking soda. When combined properly and applied correctly, this mixture can help exfoliate dead cells, brighten the skin’s tone, and support a clearer overall appearance.
Below, you will find a fully detailed recipe, instructions, and practical tips for safe and effective use.
Why This Remedy Works
1. Garlic Juice – A Natural Clarifying Extract
Garlic contains powerful sulfur compounds that have long been valued in folk skincare for their cleansing properties. Its natural activity helps remove impurities from the skin’s surface, encouraging a brighter, more even look. Extracting the fresh juice concentrates these properties into a usable form that can be applied directly to small blemished areas.
2. Lemon Juice – Gentle Brightening Support
Lemon juice is rich in natural acids and vitamin C. These components help exfoliate old skin cells and give the skin a more radiant appearance. When used in very small amounts, it can help lighten the look of dark marks over time.
3. Baking Soda – Mild Exfoliation
Baking soda has a fine texture and slightly alkaline nature, making it useful in small, controlled amounts for smoothing the skin’s surface. Paired with the other ingredients, it helps the mixture adhere to the skin and enhances its exfoliating effect.
Ingredients You Will Need
- 5 cloves of fresh garlic
- 1 teaspoon fresh lemon juice
- 1 teaspoon baking soda
- Cotton swabs
- Small adhesive patches or temporary skin bandages
- Fine grater and strainer
- Small bowl
How to Prepare the Remedy
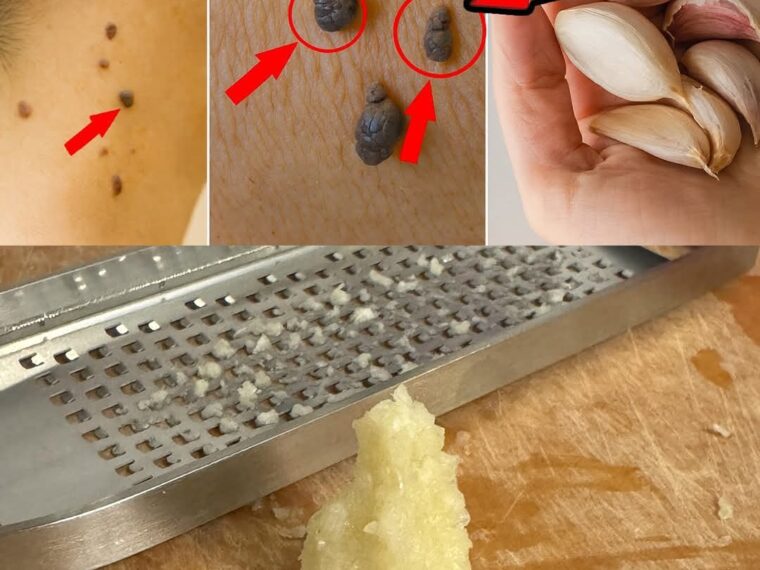
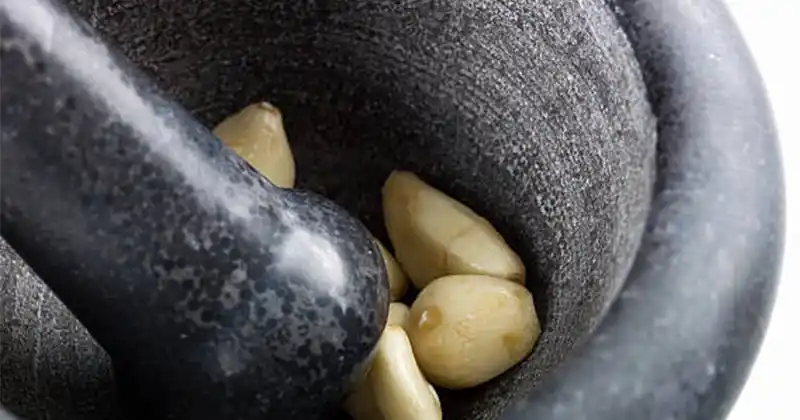
Step 1: Extract the Garlic Juice
- Peel all five garlic cloves completely.
- Using a fine grater, grate each clove into a paste over a bowl.
- Transfer the grated garlic into a strainer.
- Press firmly with a spoon to extract as much clear liquid as possible.
- Collect the juice in a separate container. This will be the base of your mixture.
Step 2: Add the Lemon Juice
- Cut a lemon in half and squeeze a small amount of juice.
- Measure one teaspoon of fresh lemon juice.
- Add it to the garlic extract and mix gently.
Step 3: Add the Baking Soda
- Add one teaspoon of baking soda to the mixture.
- Stir until the ingredients combine into a slightly foamy, smooth paste.
This paste is your final preparation, ready for targeted application.
How to Use the Remedy for Best Results
Step 1: Prepare the Skin
- Wash the area gently with mild soap and water.
- Pat completely dry.
Step 2: Apply the Mixture
- Dip a cotton swab into the paste.
- Apply it directly onto individual dark marks or small blemished spots—not on large areas of skin.
- Use only a thin layer; a little goes a long way.
Step 3: Secure With Adhesive Patches
To keep the mixture in place and prevent smudging:
- Cover each treated spot with a small adhesive patch or temporary bandage.
- Leave it on overnight.
This helps the mixture remain in contact with the skin for several hours, giving it time to work effectively.
Step 4: Morning Care
- Remove the patch.
- Rinse the area with lukewarm water.
- Apply a gentle moisturizer.
How Often to Use
Repeat this process nightly until the appearance of the dark marks begins to fade.
Results vary depending on skin type, sensitivity, and the age of the mark.
Important Tips for Safety and Best Results
Patch Test First
Because garlic and lemon are strong natural ingredients, always test the mixture on a small area of skin first.
If you notice burning, redness, or irritation, discontinue use.
Avoid Sun Exposure
Lemon can make skin more sensitive to sunlight.
When using this remedy, avoid sun exposure on treated areas or use sunscreen during the day.
Do Not Apply on Broken or Irritated Skin
Use only on closed, healed skin—not on cuts or active acne.
Use Only at Night
This preparation is intended for nighttime use only, allowing the skin to rest and recover.
Final Thoughts
This simple home remedy offers an affordable way to support clearer-looking skin using fresh, natural ingredients. While results may vary from person to person, many people appreciate how gentle and accessible this method is compared to harsh commercial treatments. With consistent use, careful application, and proper skin care, you may notice a gradual improvement in the appearance of blemishes and dark marks.
Inspired by this? Share the article with your friends!